
How to Make Your Own Minimalist Blanket Ladder

Because my last Pinterest comparison post is one of your favorites, I’ve undertaken another! I’ve wanted a blanket ladder almost since I knew they were a thing, but they’ve always been out of budget or just not the style I want in my living room. As our collection of blankets has grown (shoutout to all my always-cold girls!), the need for one has not gone away. Finally, I found one that I liked the look of, and because it was a DIY the price was much more manageable!
Gather Your Materials
I purchased all of the materials we didn’t already have on hand at our local Home Depot.
Materials you need for your DIY blanket ladder with dowels:
• 7/8″ wooden dowels (the 3/4″ dowels were too loose in the fittings!) x3
• 3/4″ copper pressure tees x6
• 3/4″ copper caps x4
• Wood Glue
• Tape Measure
• Spray paint if you want to paint your ladder
• Hand saw (or cut your dowels at the home improvement store where you purchased them)
Make Your Cuts
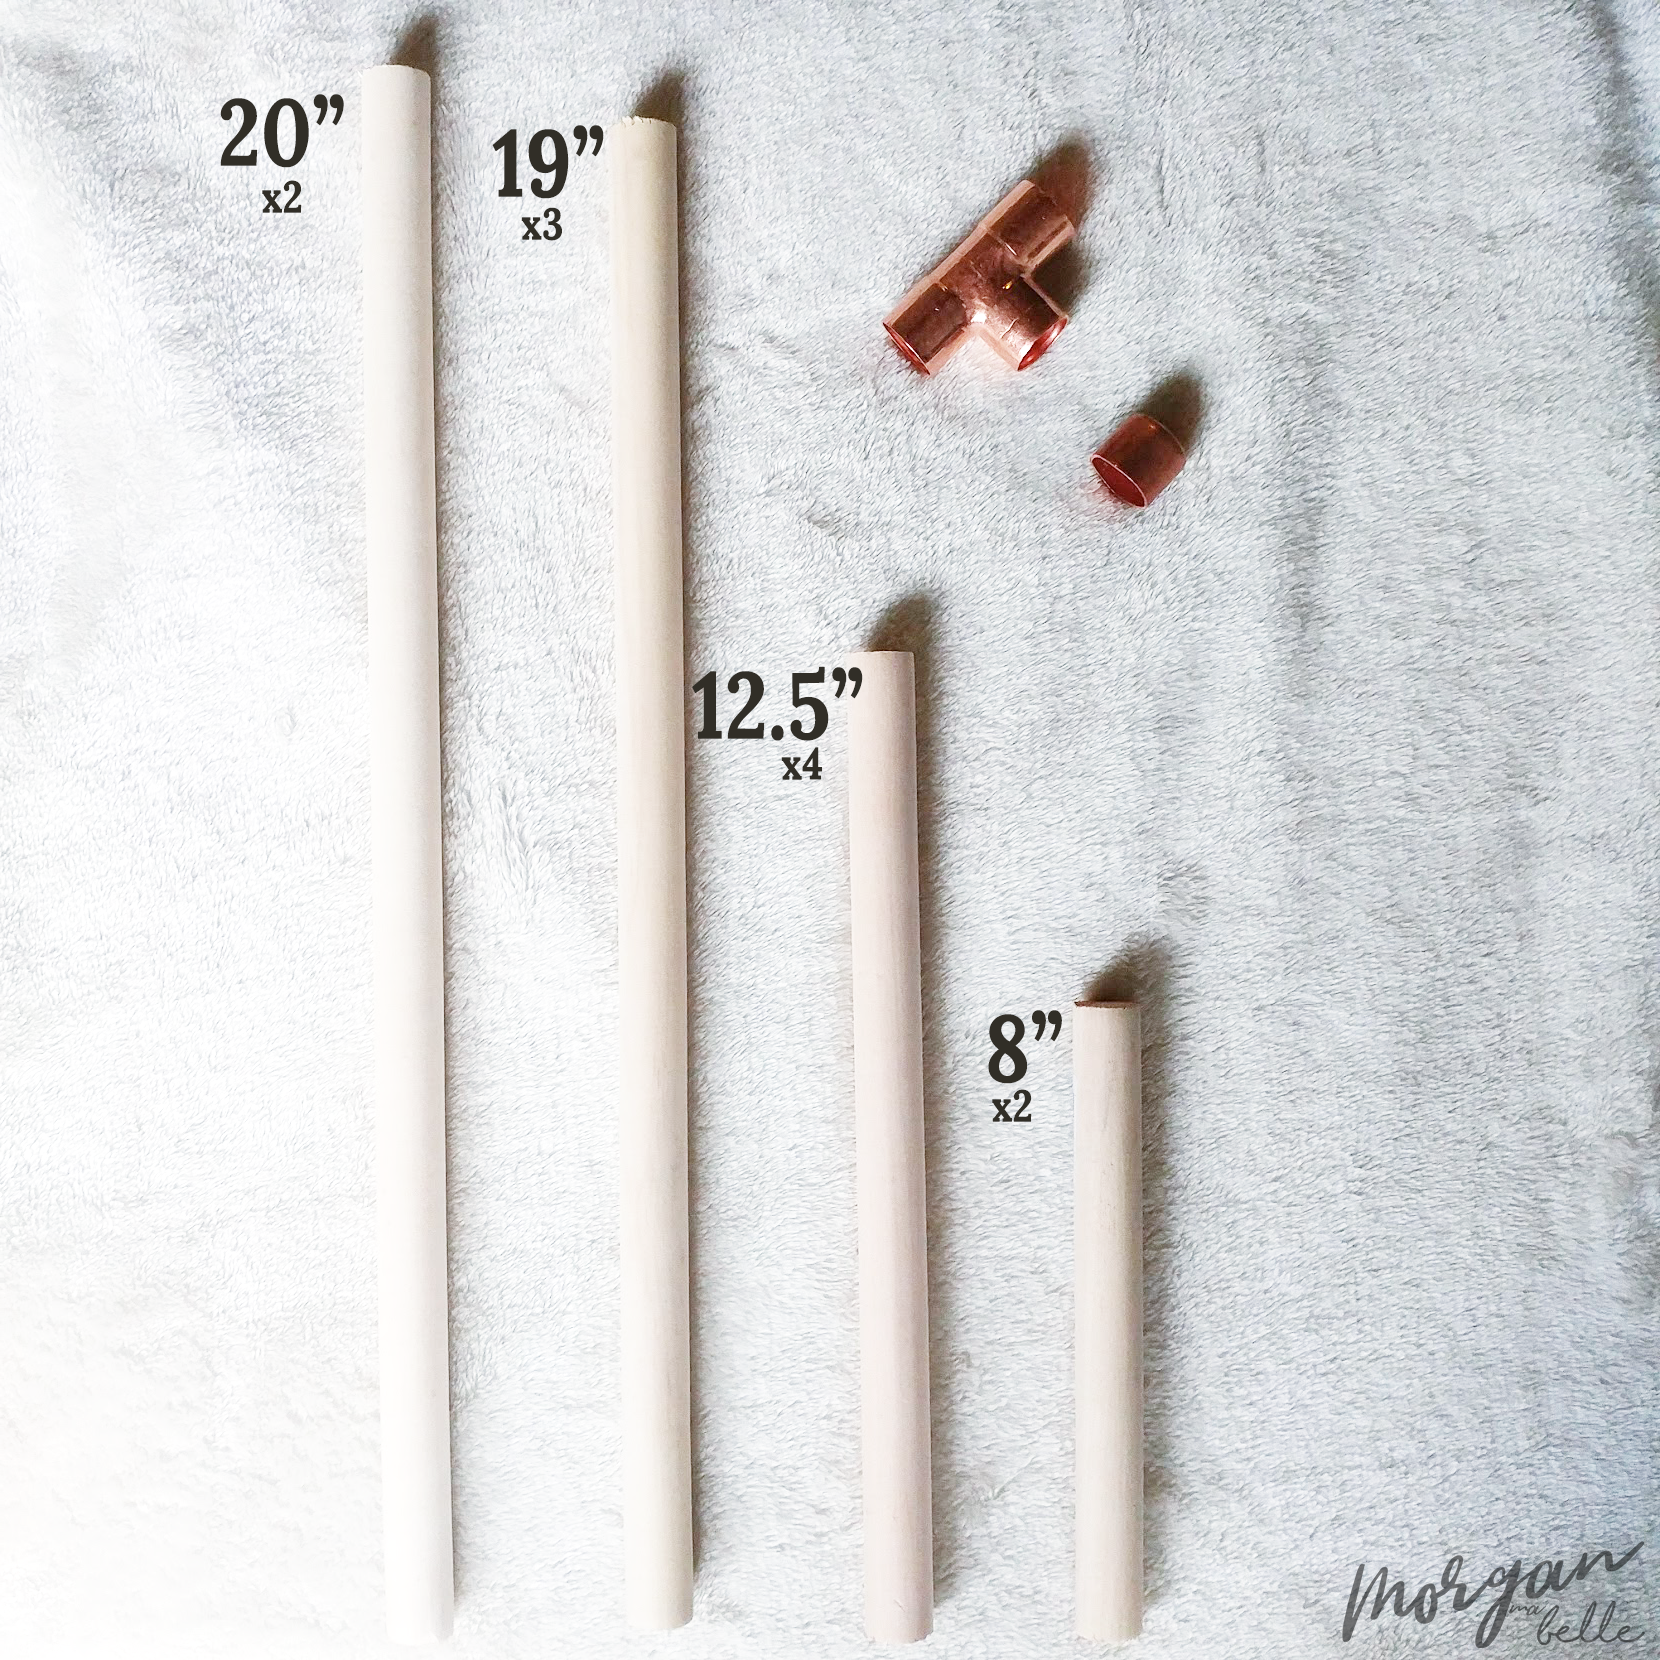
Because I had a very specific home in mind for our ladder, I made up my own measurements. I only wanted it to be 53″ tall, so that breakdown looks like this:
• 20″ dowel pieces – the bottom “legs” of the ladder x2
• 12.5″ dowel pieces – the middle sections of the ladder posts x4
• 19″ dowel pieces – the crossbars that will actually hold blankets x3
• 8″ dowel pieces – the top “posts” of the ladder x2
What I didn’t take into account is that each copper pressure tee adds another inch in height to the ladder, so my ladder at the end was about 56 inches tall. Not too big of a problem, I just lean it out a little farther from the wall. If I had considered that prior to making my cuts, I would have trimmed the bottom dowels from 20″ to 18″ and trimmed the middle dowels from 12.5″ to 12.” Voila!
Blanket Ladder Building & Assembly:
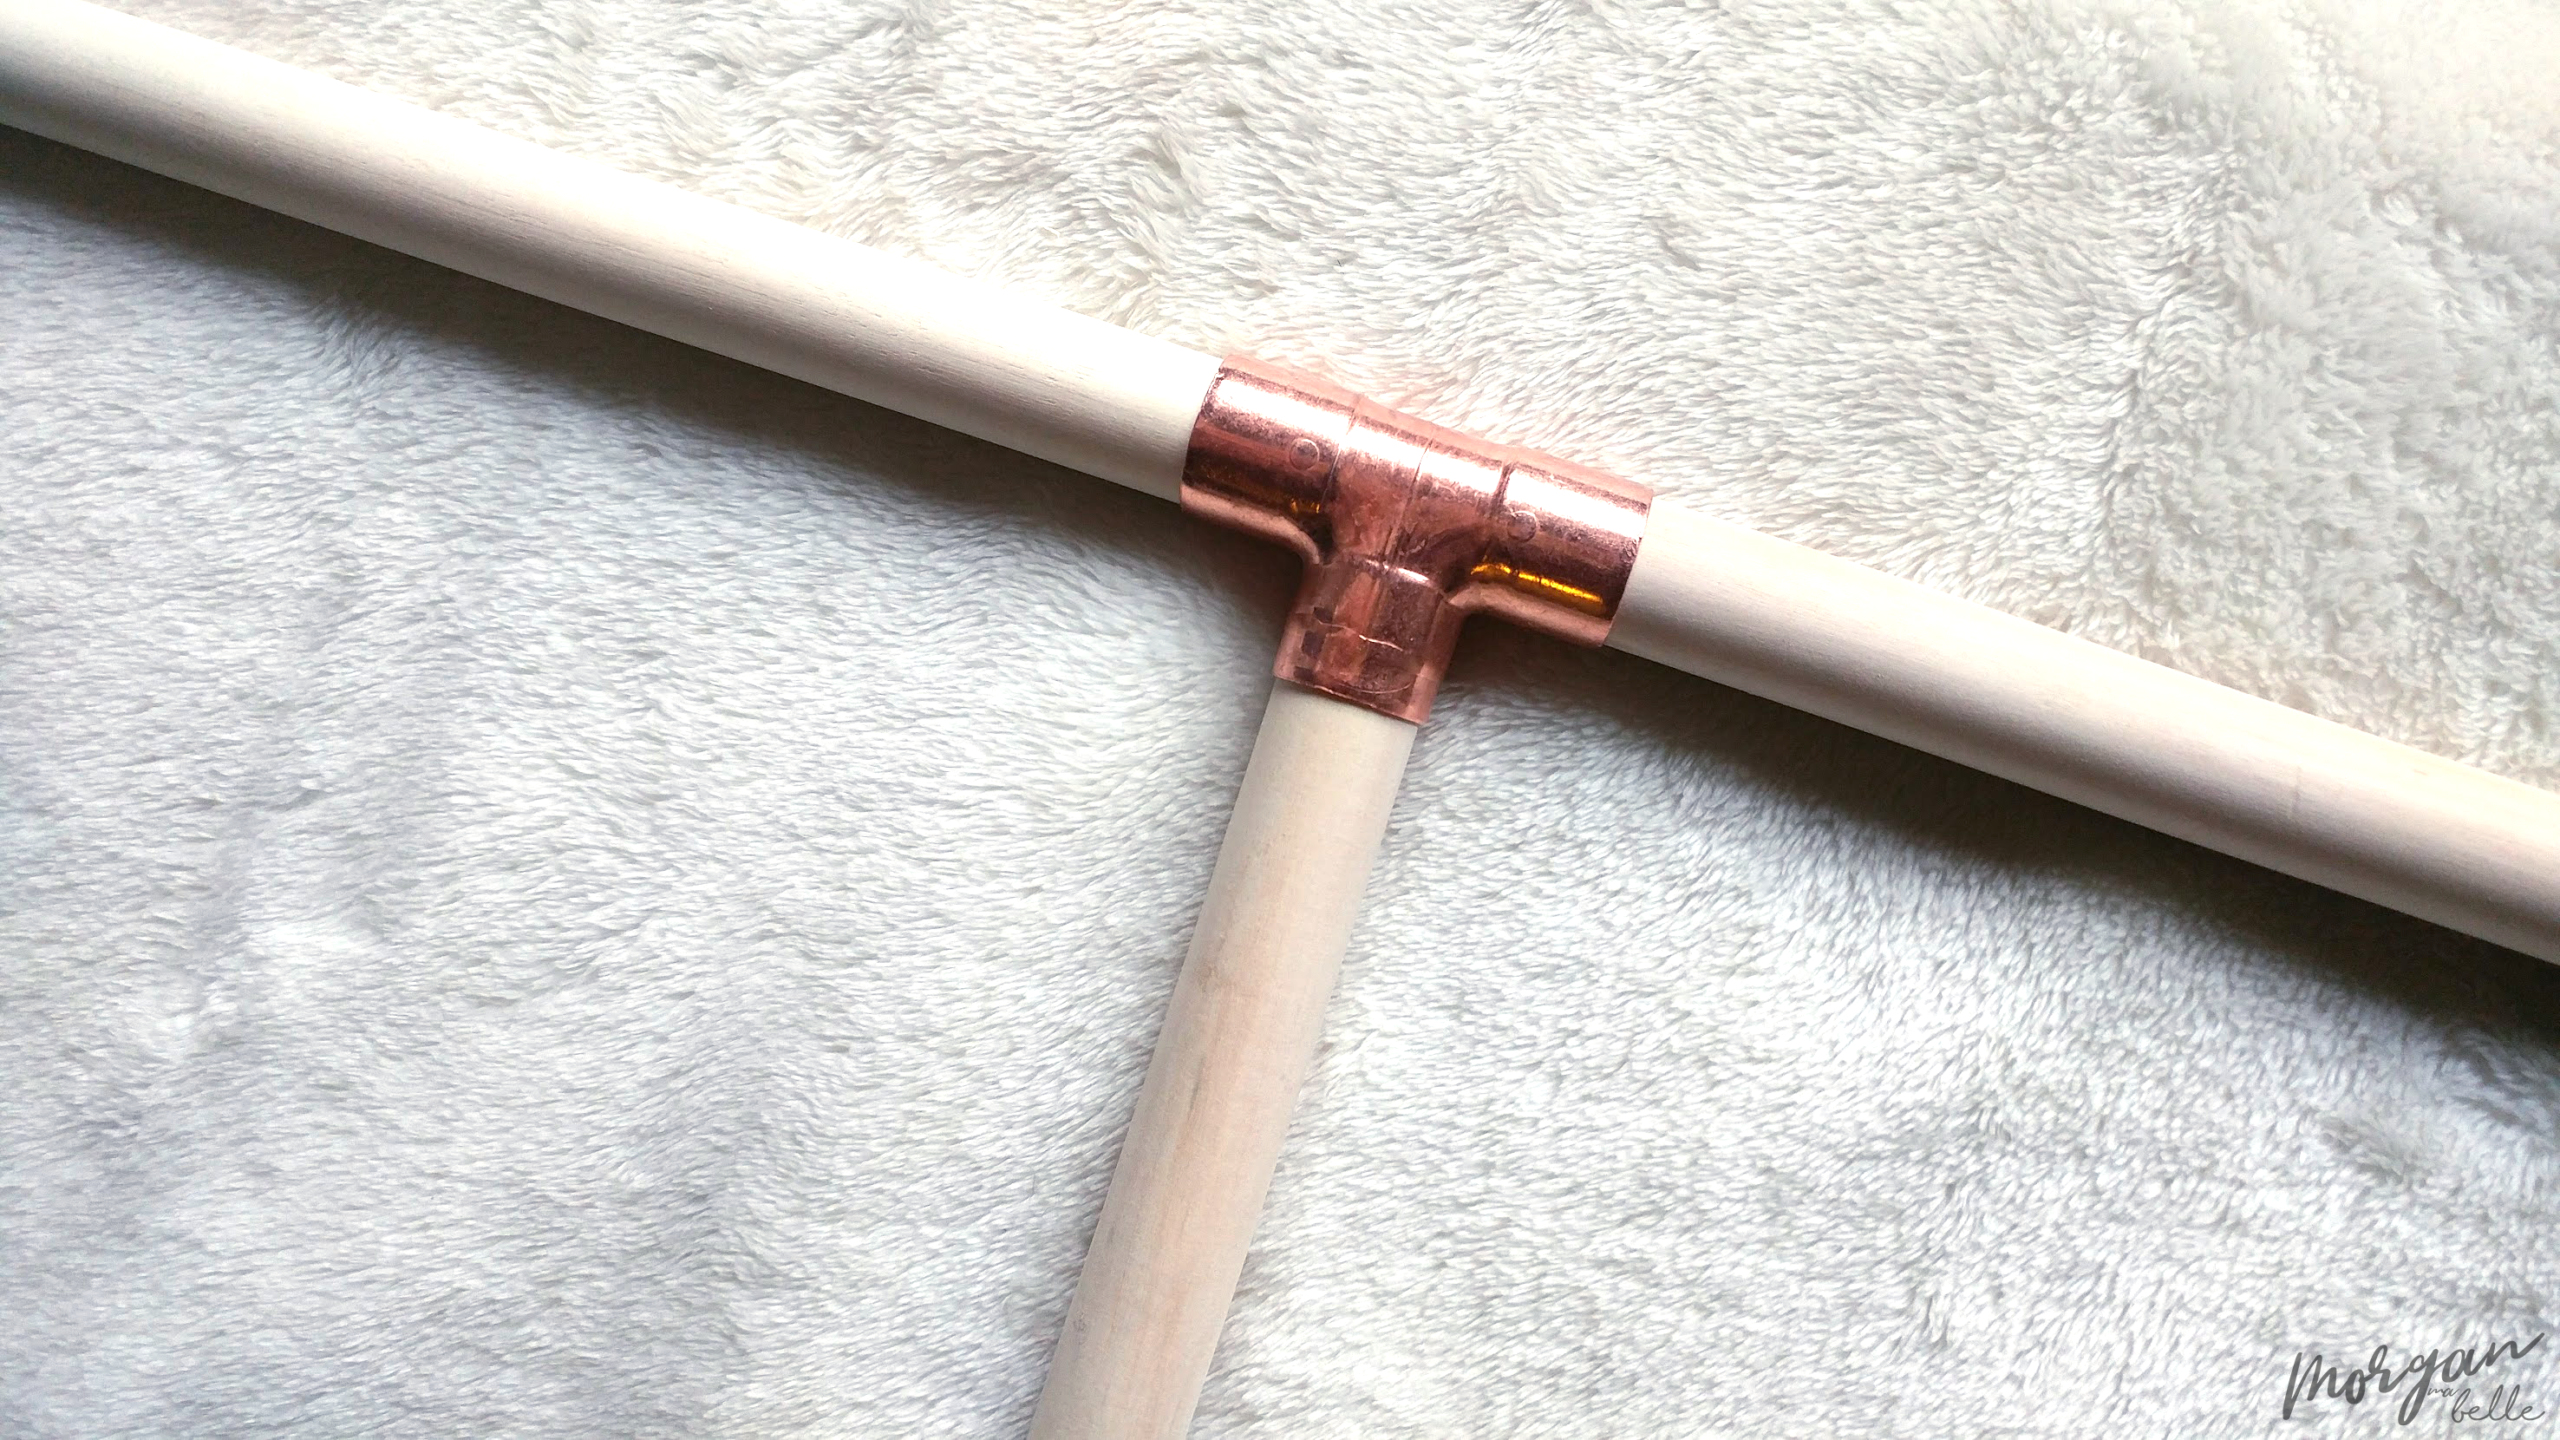
Make sure to layout out your dowels and your copper tees exactly how you want to assemble them. You don’t want to misglue a leg in place instead of a crossbar!
Most of the dowels fit snugly into the pressure tees, but to ensure that I would have a sturdy ladder, we first coated the inside of the pressure tees with wood glue. Have a paper towel handy to immediately wipe off any glue that squishes out the sides of the tees! A little glue inside the bottom of each copper cap kept them securely on the legs.
Let it Dry
Once we’d finished gluing and assembling, I let the ladder dry for a full 24 hours before hanging any blankets from it.
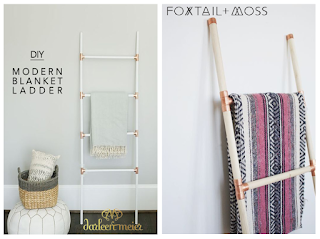
Looking for a similar design with different measurements? I came across two on Pinterest that looked almost identical in style and result, but with some different measurements and steps. The first is Foxtail And Moss‘s gorgeous DIY Wood + Copper Blanket Ladder. The other is Darling Darleen’s DIY Modern Blanket Ladder. If you’re a picture person, I suggest Darleen Meiers; if you’re good with end-result photos and written instructions, Foxtail And Moss’ post will work for you.


I love this! I can't wait to make one. It's so gorgeous! Thank you a ton for the inspiration <3.
Good article!
so cute! I love the copper accents.
xo
Taylor
http://www.reeseshardwear.com
Comments are closed.